Earlier, I posted a pin on my Pinterest, a Burlap Wreath Tutorial from {
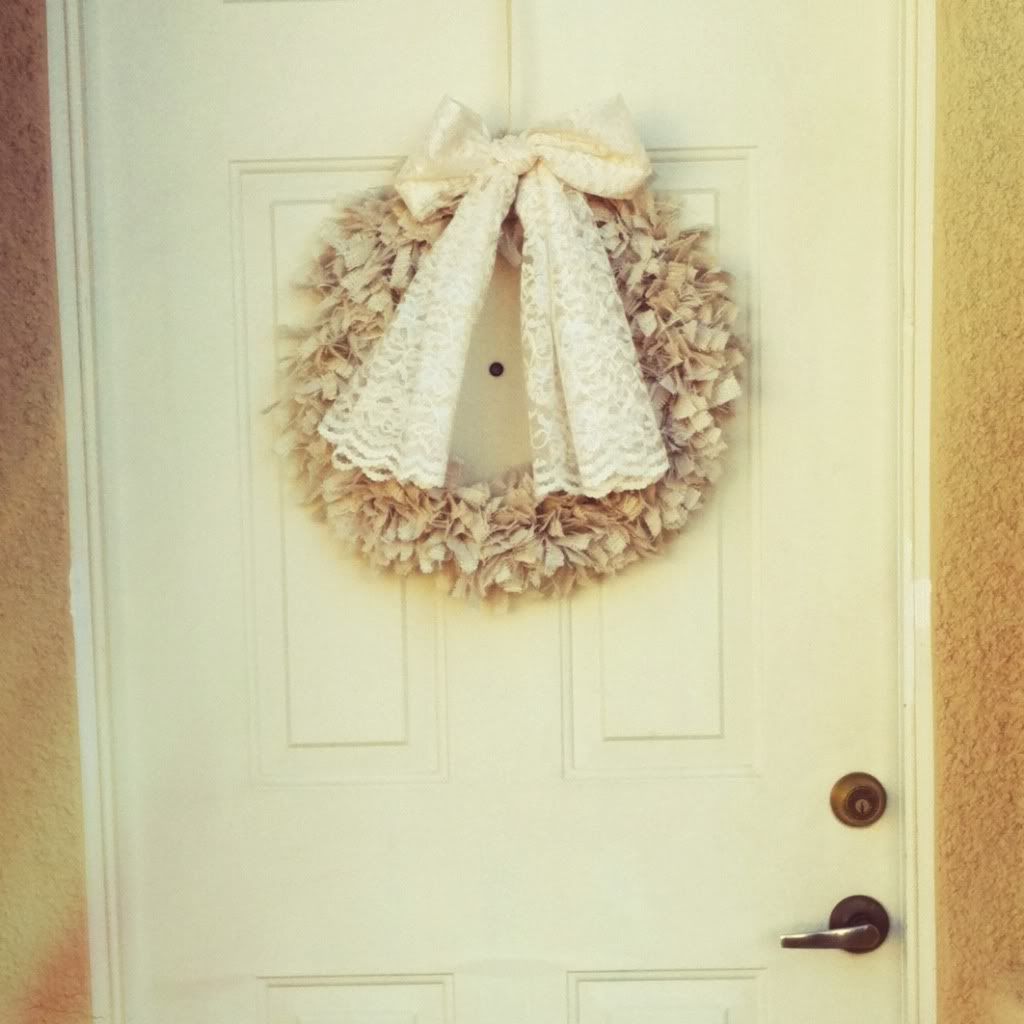
this blog} So I had to give it a try! Keep in mind, I just finished it tonight, and I am going to be adding a lace bow at the top (: I will post those final pictures as soon as I finish it, and with my DSLR, but for now, I just wanted to show my progress.
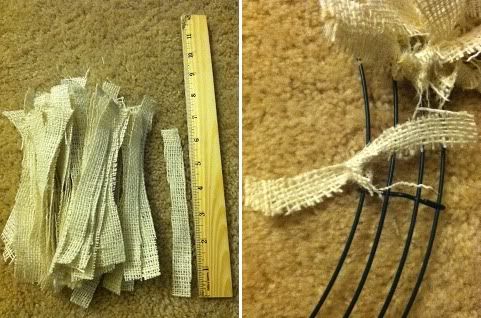
You can find the tutorial in that link i provided, but I cut strips of ivory burlap in .5"x6.5" because I wanted my wreath to look more condensed and tighter, therefore I made smaller strips..
And i worked in each section:
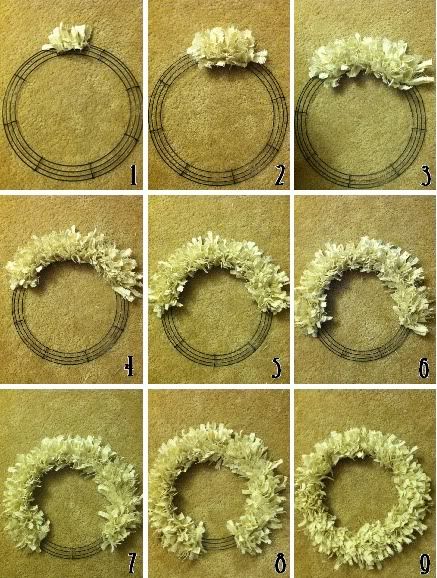
And voila!


How fun! I'm impressed that you did all of that in one night. What color ribbon is going on it? I love how you could use different ones to make it appropriate for different seasons...!
ReplyDeleteIt actually took me 3 nights :P I posted this the night I finished. I'm planning on tying a lace bow at the top (: and yes, you can totally make this any season appropriate! <3
ReplyDeletehey there! just stumbled across your blog. this is such a a great DIY project! i definitely love oatmeal color of it. you can totally hang that up once and never have to take it down. it's just such a great color.
ReplyDeleteanways, love your blog!
jemmza.blogspot.com
Thank you Emma! I'm sorry for the delayed response ~ That's what I love most about this wreath, If you were to use the cream colored burlap, you can always just change out the color ribbons according to the season! I think for valentines, I will use a pink or a red ribbon :) Can't wait!
Delete